How to set up Framer analytics, session replay, and more
Nov 14, 2024
Framer is a popular no-code site builder that makes it easy to design a stylish website.
To understand user behavior and site performance, you need analytics. Data like pageviews, button clicks, and session replays are critical to improving your site.
This tutorial shows you how to set up PostHog on your Framer site to capture events, record sessions, track conversions, set up feature flags, and more.
Adding PostHog to your Framer site
First, sign up to PostHog and copy your JavaScript snippet from the getting started flow or your project settings. It looks like this:
With the JavaScript snippet copied, go to your Framer project and click the gear in the top right to go to your site settings. If you haven’t already, sign up for the "Mini" site plan. This enables you to add custom code.
Once on a paid plan, go to the General tab in site settings and scroll down to the Custom Code section. Under End of <head> tag, paste your PostHog JavaScript snippet. Make sure to press Save next to the Custom Code heading.
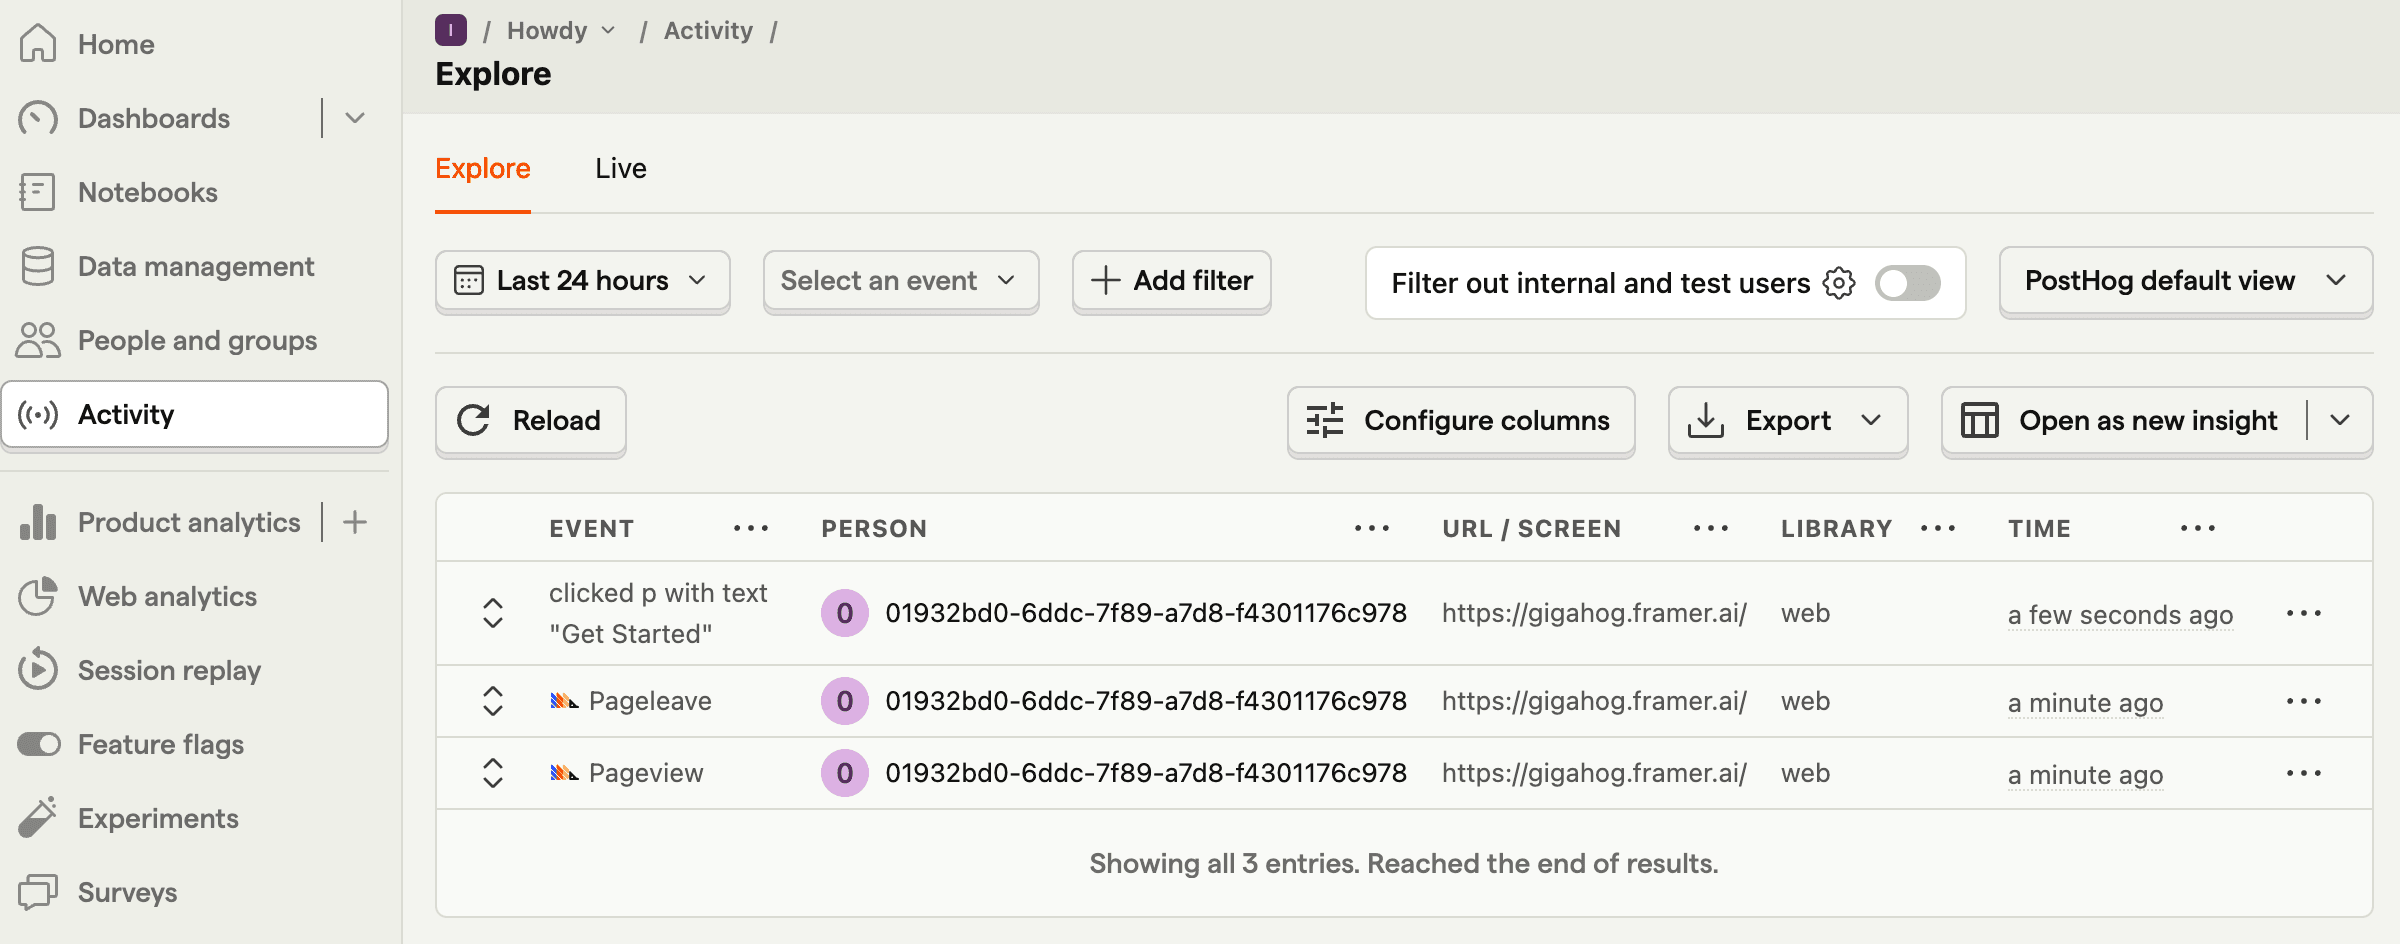
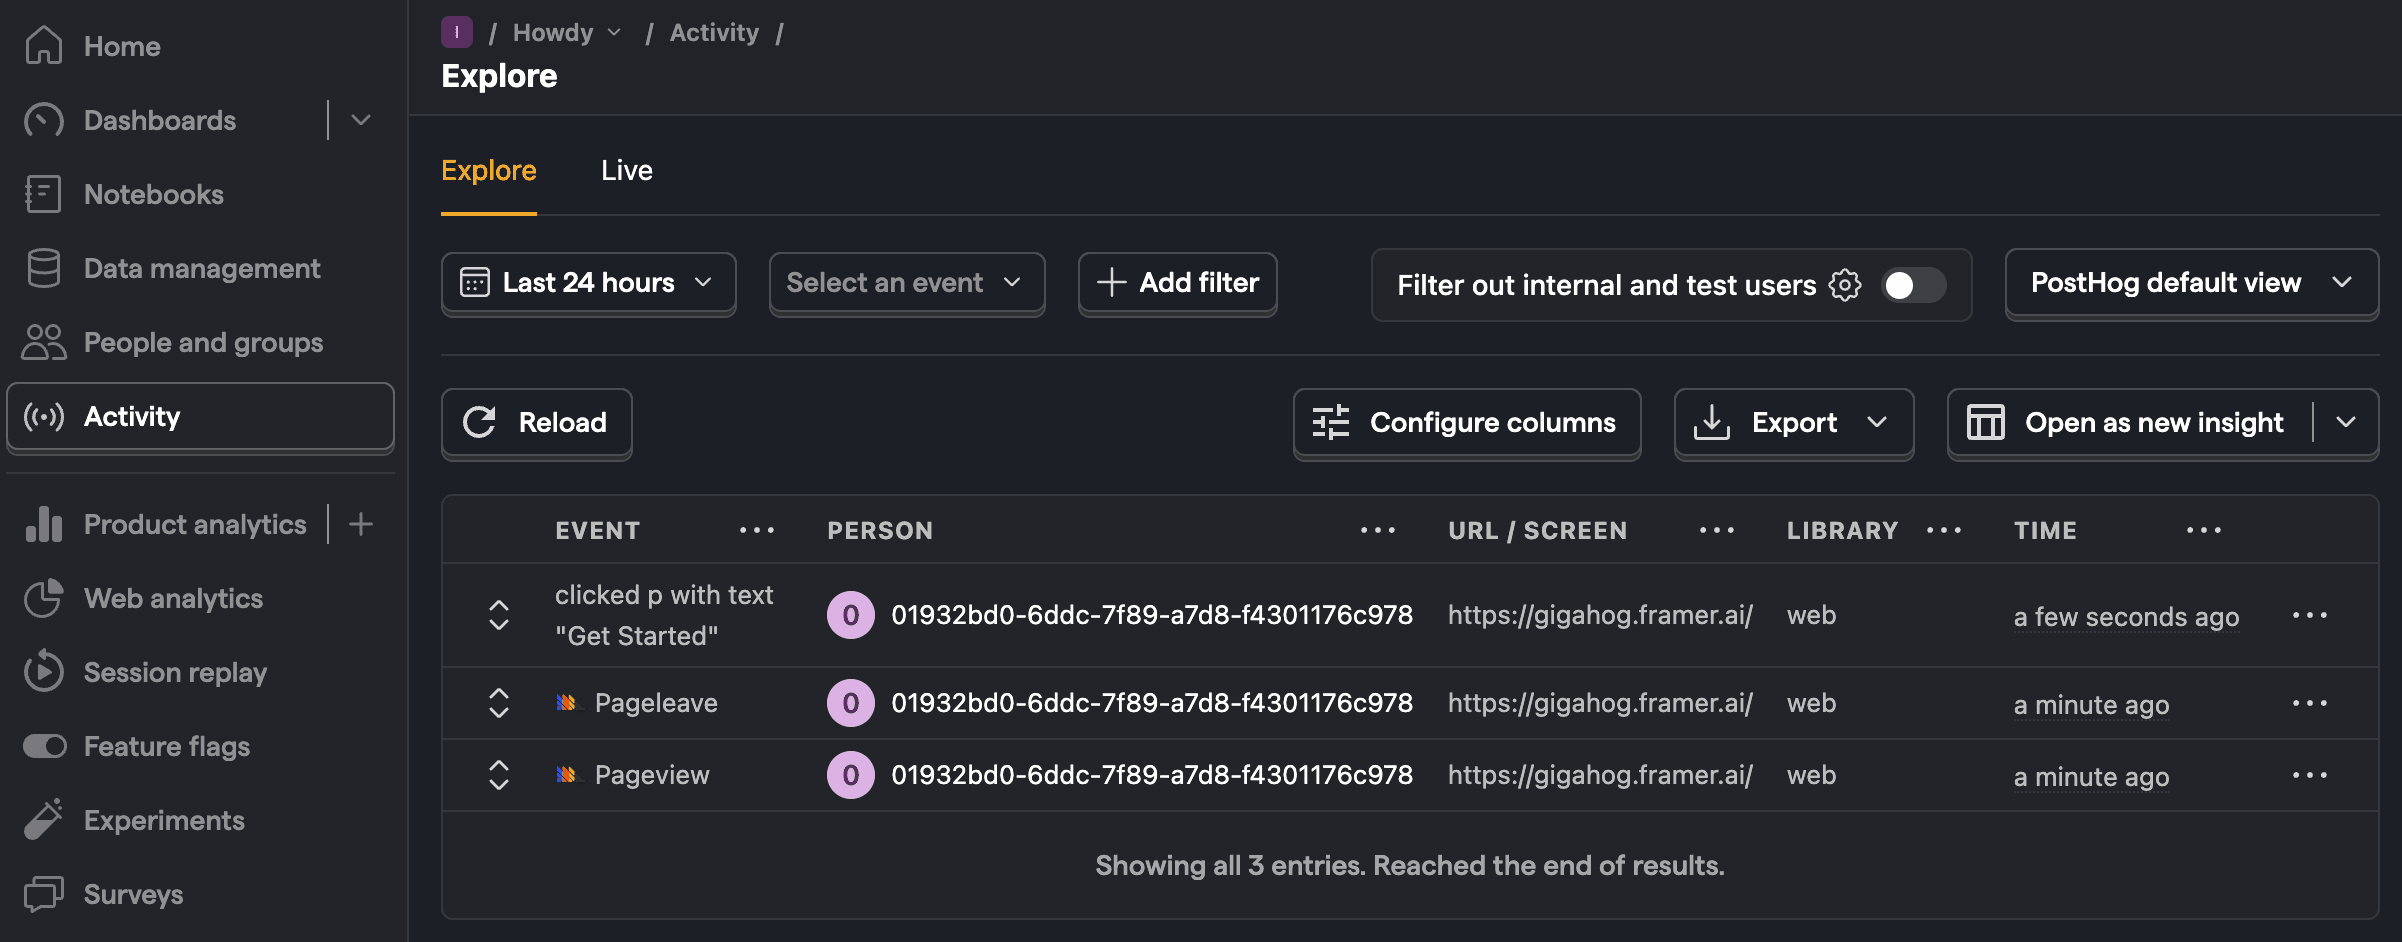
Once you publish and go to your site, PostHog begins automatically capturing events like pageviews, button clicks, and form inputs on your site.


Enabling session replays
To enable session replays, go to your project settings, scroll down to Recordings, and enable Record user sessions. PostHog then starts to record sessions of your users, so you can see all the details of how they use your site.
Adding a custom event
We'll use custom code components in Framer to set up custom event capture. We will create a basic button that captures a clicked_homepage_button event.
To do this, go to the Assets tab in the top left of your project. Next to the Code tab, click the plus icon to create a code file. Name the file CaptureButton, set it as a New component and press Create.
Once done, delete the existing code and add a button that captures an event with window.posthog() like this:
After pasting this in, press cmd/ctrl + S to save the component, and go back to the home page by clicking "Home" above the code. Once on the home page, drag and drop the CaptureButton component from the sidebar into your page and publish again to update your site with your new button.
Once updated, you can head to your site and click the button to see events captured in PostHog.


Tracking conversion goals
PostHog's web analytics dashboard gives you an overview of your site's performance. You can see metrics like bounce rate, session duration, popular pages, sources, and more.
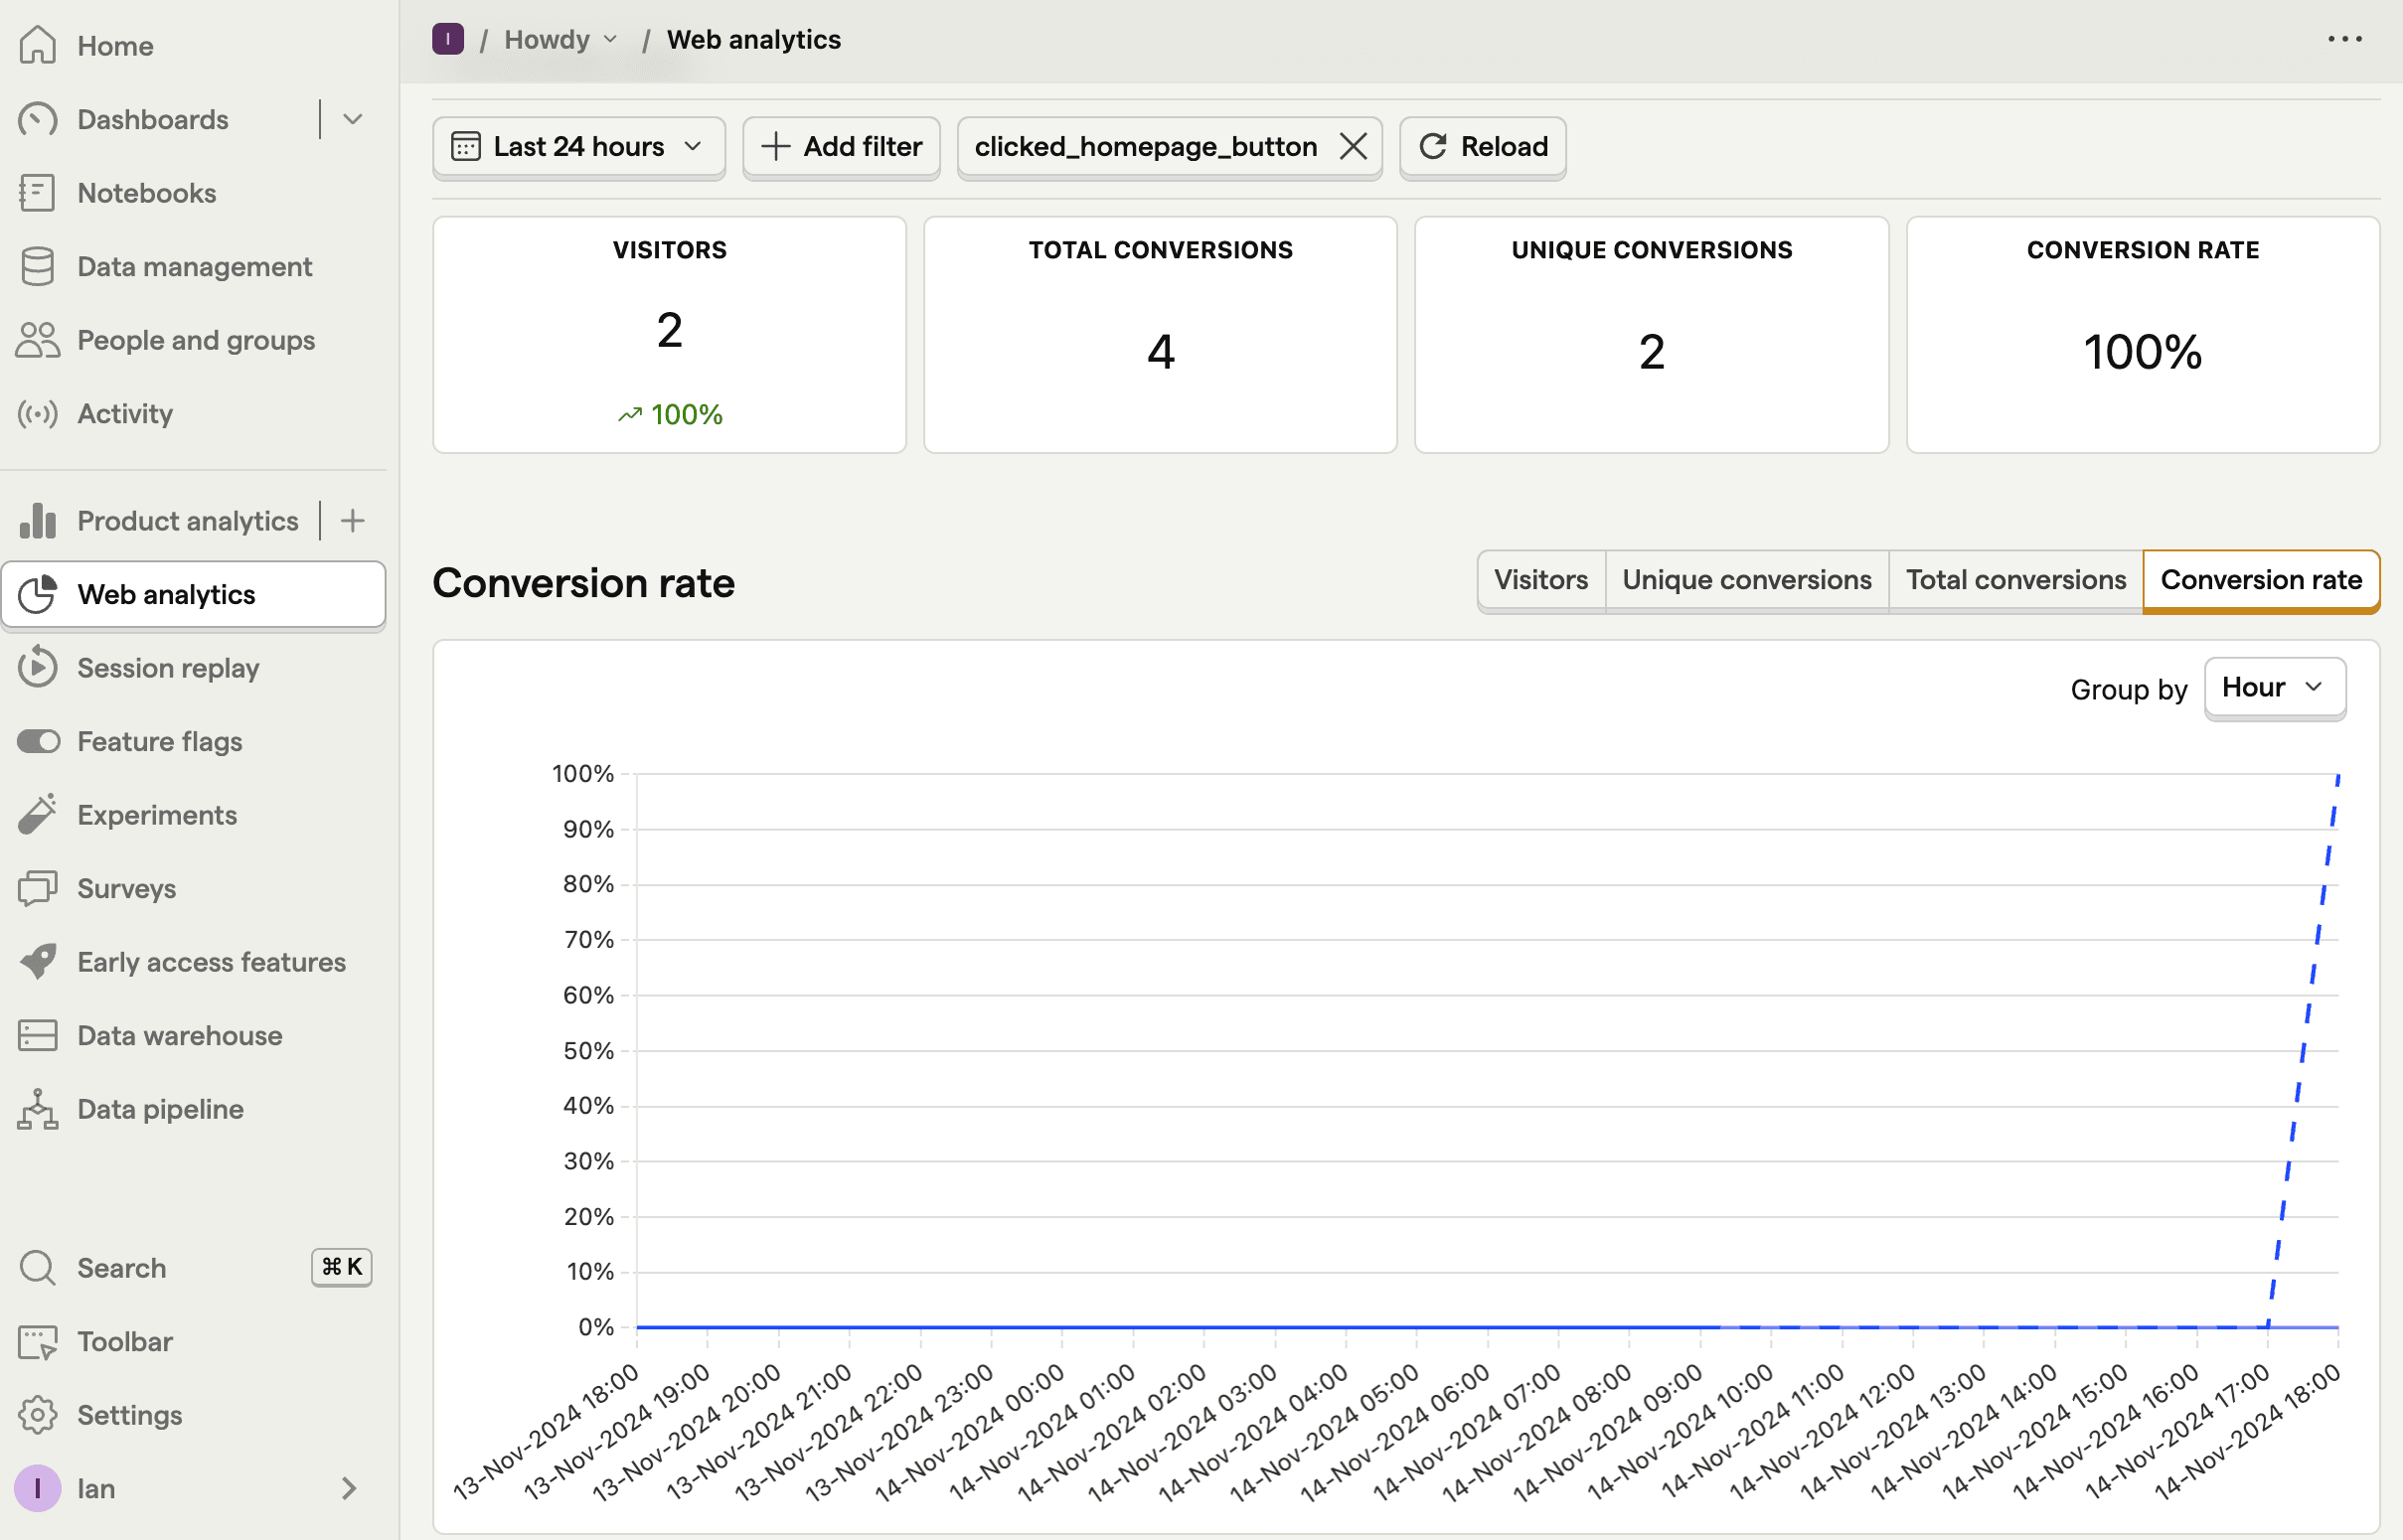
You can also use the web analytics dashboard to get details on conversions, like clicking the homepage button we added earlier.
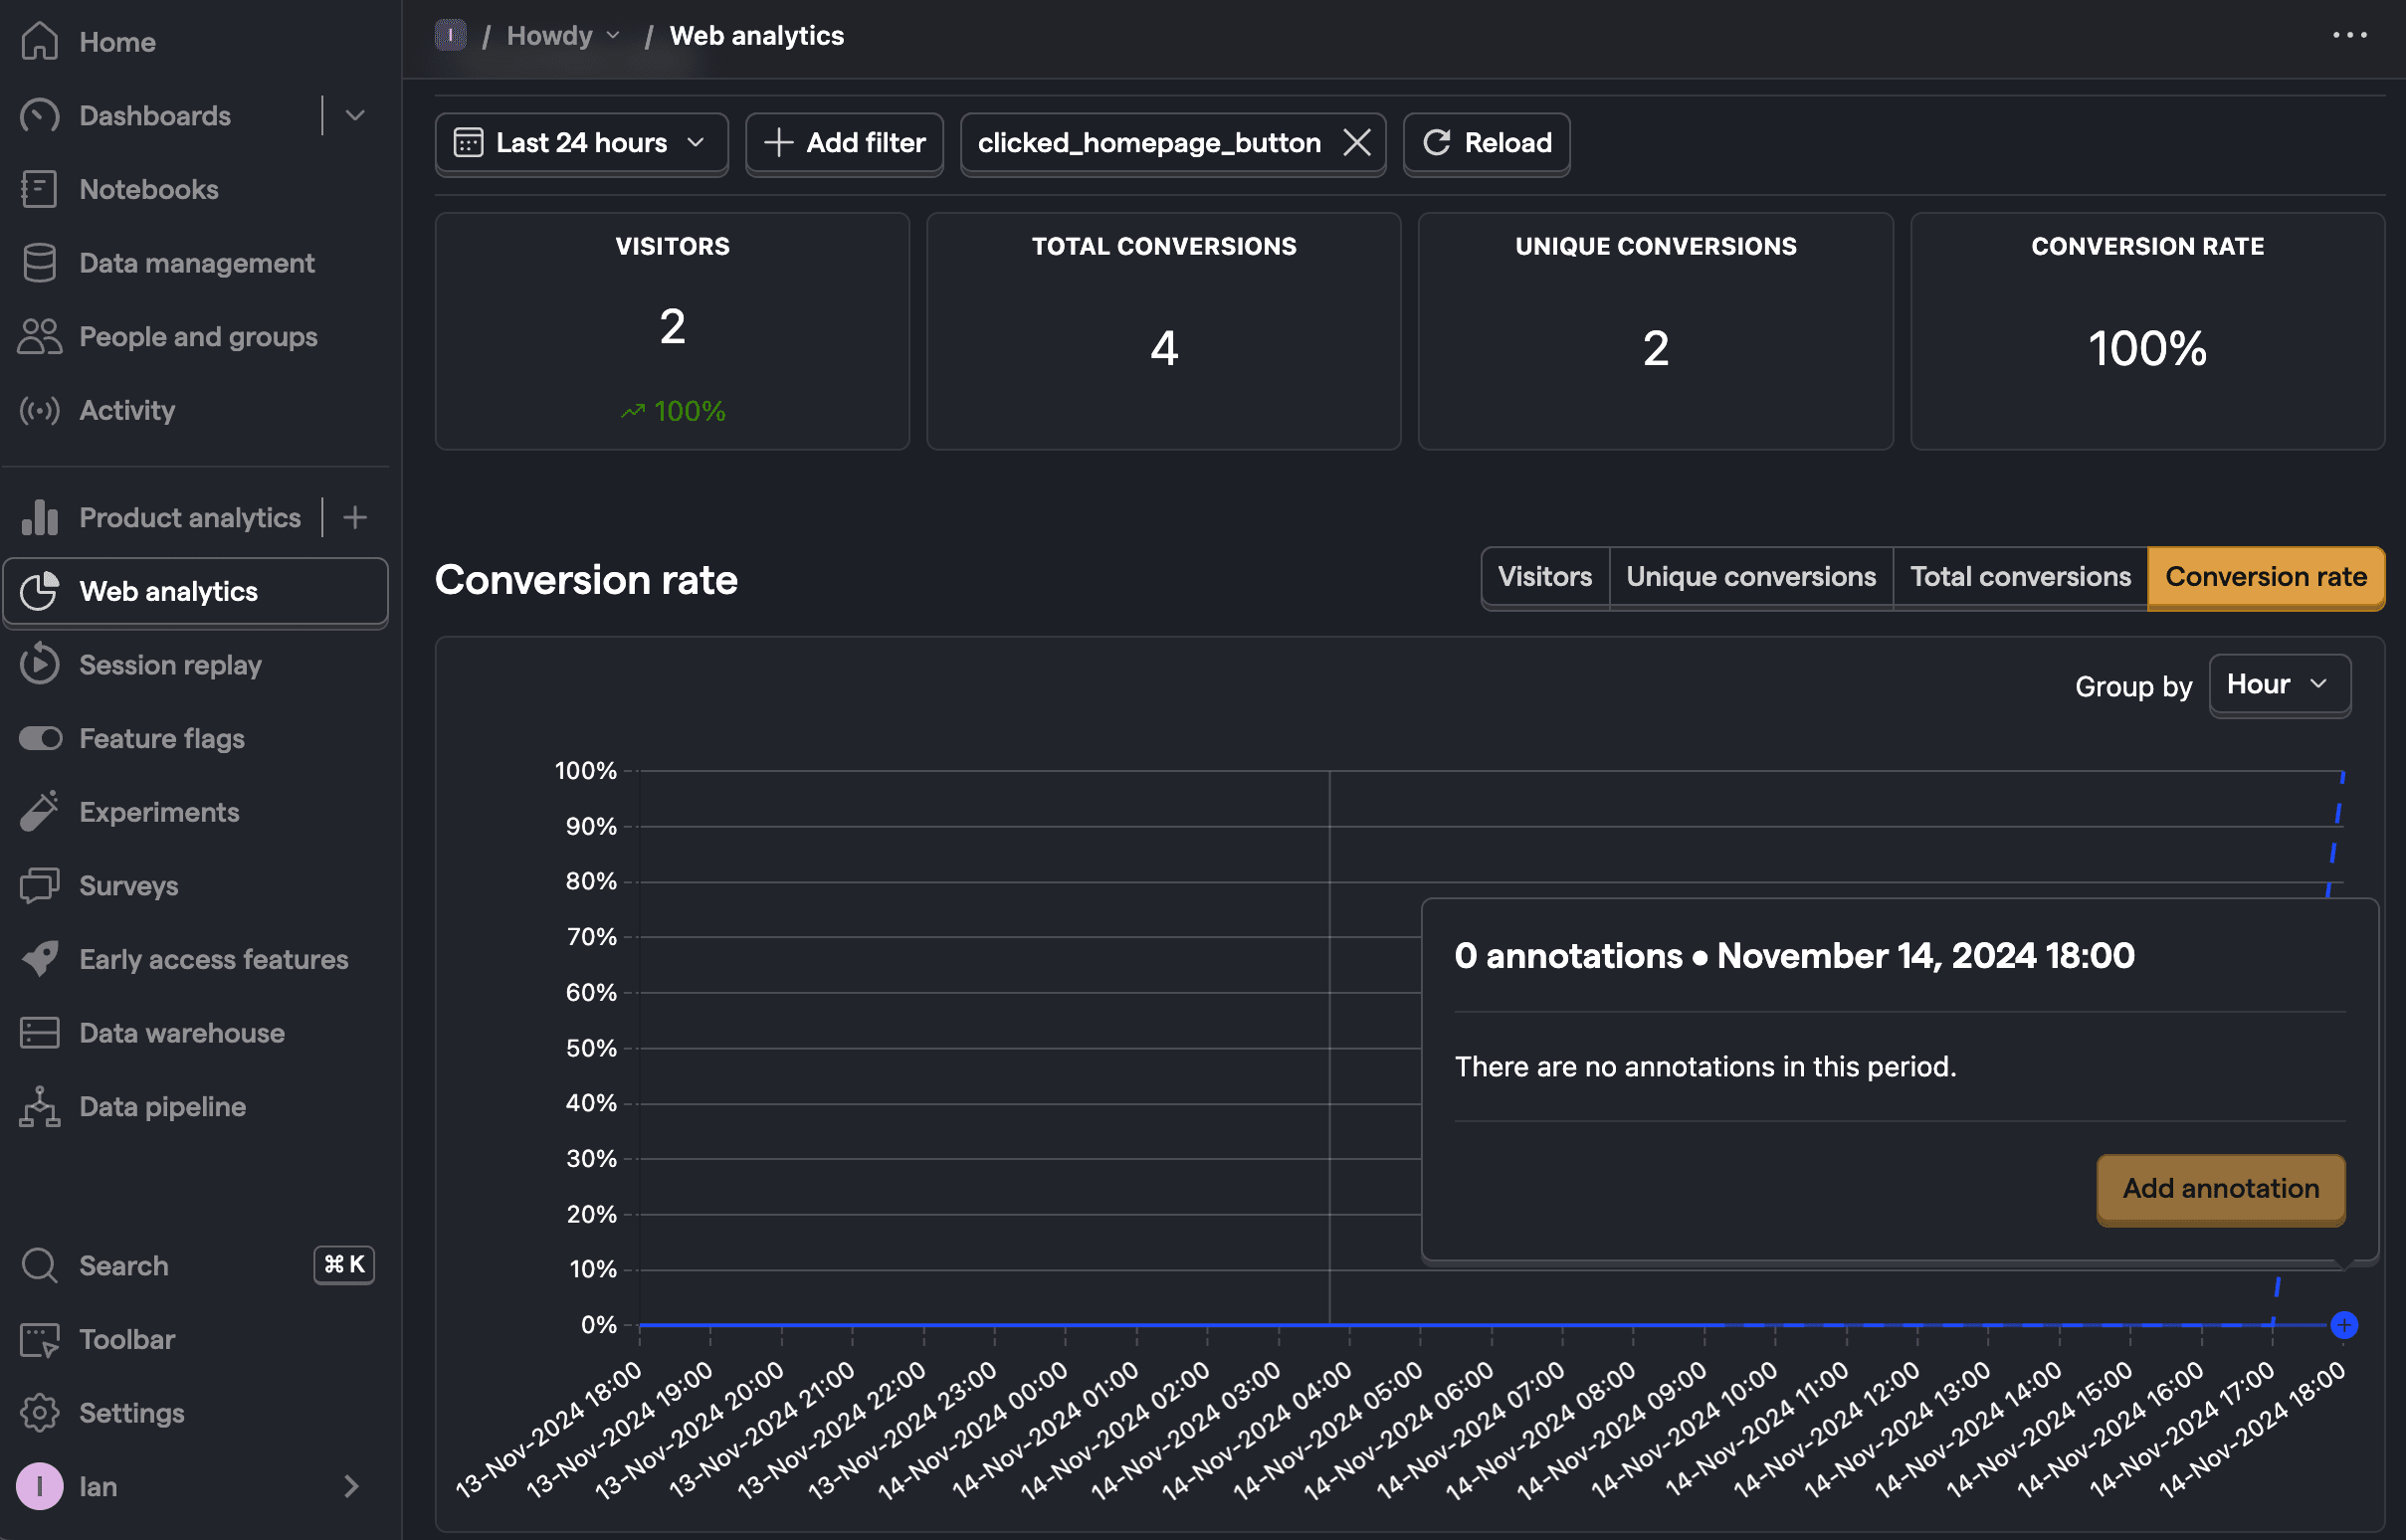
To set this up, go to the web analytics dashboard, click Add conversion goal, and select the clicked_homepage_button event. This reveals details on conversions and conversion rate.


To dive deeper into conversions, you can use funnels.
Customizing components with feature flags
Feature flags are useful for conditionally showing (or hiding) components based on a rollout percentage and properties. For example, we can use a flag to show or hide our custom event button on the homepage.
To do this, first, go to the feature flag tab in PostHog. Click New feature flag, enter a key (I chose framer-example), fill out the details, set release conditions to roll out to 100% of users, and click Save.
Back in Framer, we can edit our custom button component to check the feature flag and disappear if false.
In the code for CaptureButton, import useEffect and useState, set up a state for isButtonEnabled then set that state based on what window.posthog.isFeatureEnabled("framer-example") returns. Add a check for isButtonEnabled to show the button.
When we save this and publish the site again, the button is still there. When we go back to PostHog and disable the framer-example flag, the button disappears.
Further reading
- How to run A/B tests in Framer
- How to create surveys in Framer
- A non-technical guide to understanding data in PostHog

Subscribe to our newsletter
Product for Engineers
Read by 25,000+ founders and builders.
We'll share your email with Substack
Questions? Ask Max AI.
It's easier than reading through 552 docs articles.
